Header image credit: Mad Scientist on YouTube
I remember spending a lot of down time in class learning how to make origami cranes, balloons, and frogs. Other times, I learned the difference between “hotdog” and “hamburger.” While these skills don’t always translate to a professional design setting, knowing multiple ways to fold paper allows me to be more conscientious of design decisions and add a three-dimensional element to them.
The Tame…
Half-Fold
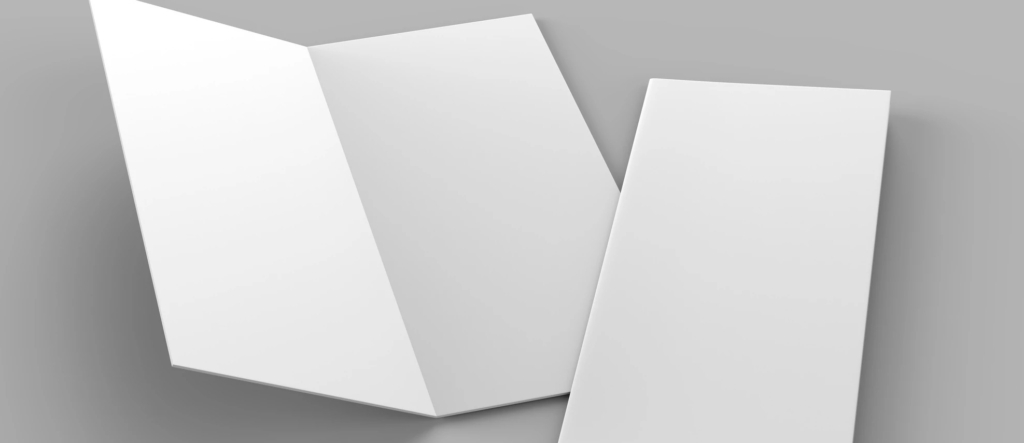
Image credit: Paper Folder Pro
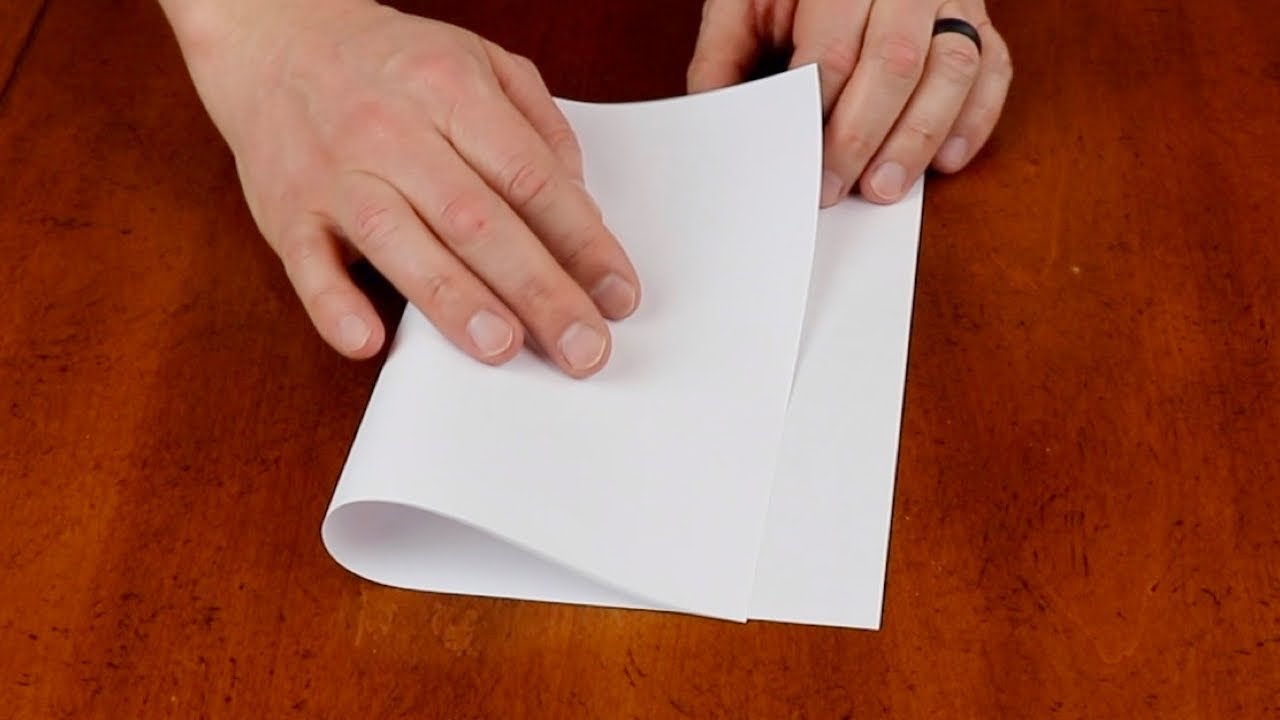
This is one of the most common types of folds used to add dimensions to a design. Typically done horizontally with rectangular media so each section resembles a half-size of the original paper, this only requires one crease or fold to be made. Because of its simplicity, many variations of this fold can be done, such as creating square, narrow, oblong, or asymmetrical halves.
These types of folds, because they are simple to do, are commonly found in mass-produced stationary like greeting cards and invitations.
Tri-Fold
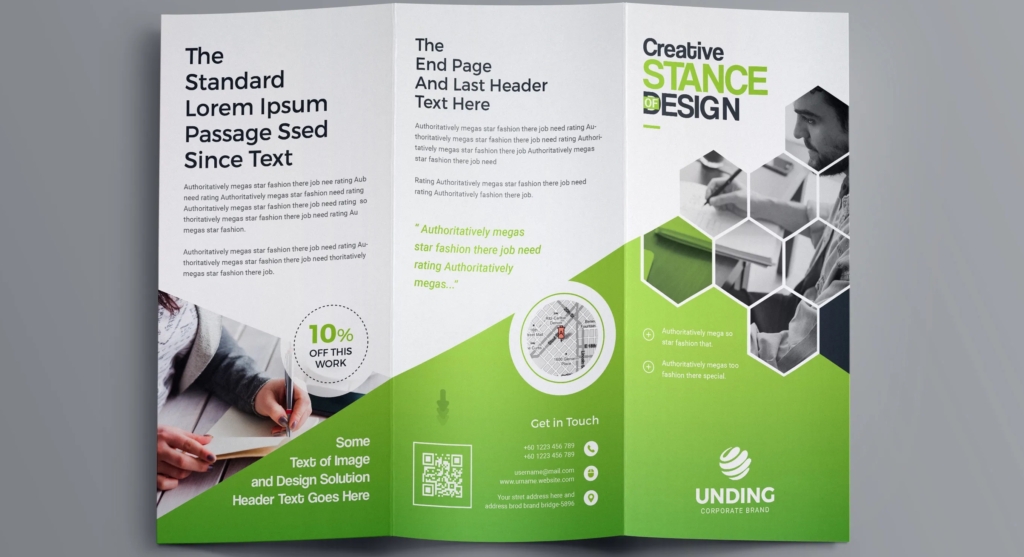
Image credit: Graphic Yard
Taking the half-fold one step further, the tri-fold creates a three-panel interior and exterior by adding another fold and dividing the paper into thirds instead of halves. Because of how this fold reduces the width of the material by three instead of two, I highly recommend folding along the longer side. The three sections on both sides, as well as the mixing of the interior and exterior panels, this fold is commonly used for brochures, which have multiple sections of short content that can fit in those narrow sections.
Accordion
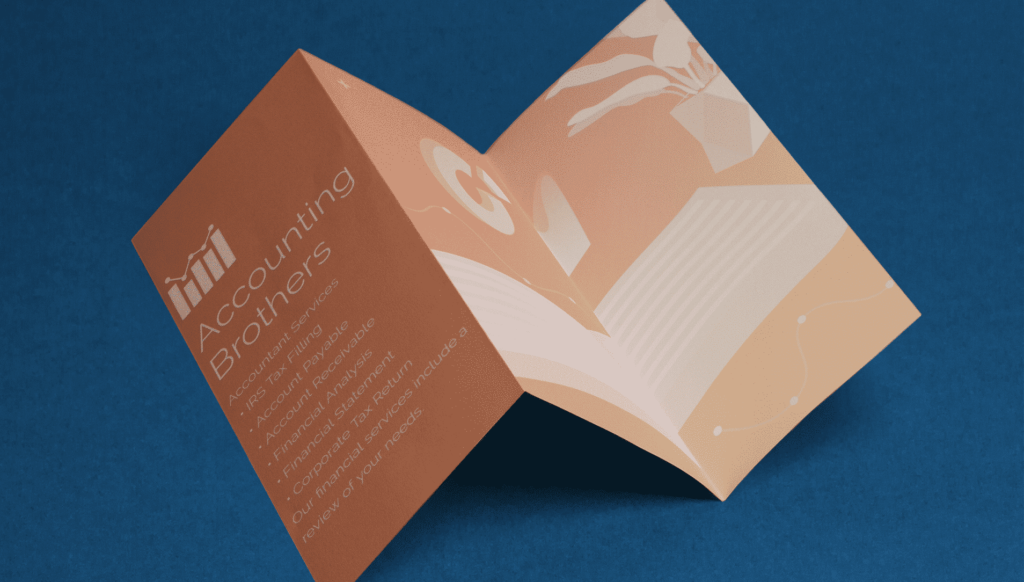
Image credit: Priority Print Service
Starting out with the first third of the tri-fold, flipping the other fold to the other side creates what is called an accordion fold, called so because of how it mimics the springlike nature and look of an accordion. This fold is able to create two separate interiors in the paper, allowing for more content sections to be created.
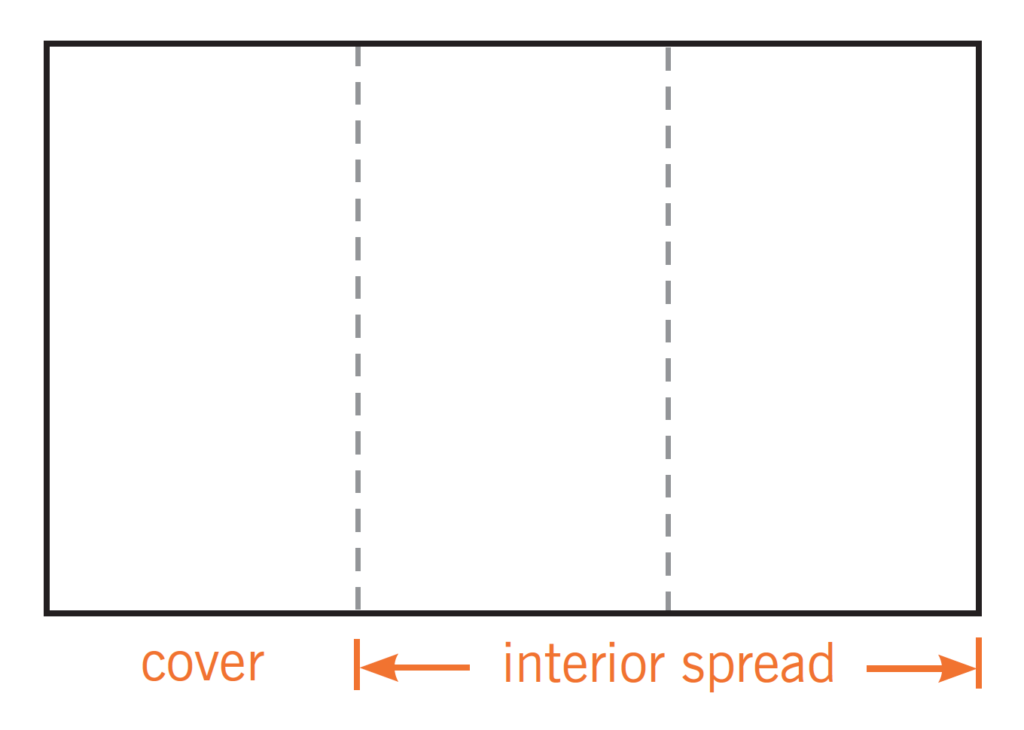
Image credit: foldfactory.com
In addition, if done in reverse by folding the opposite direction, the first flap can be adhered to the second third. This closes that second interior created by the accordion fold but allows for a cover and interior to all be printed on one side of the paper. Printing on only one side is a great cost-saver because it avoids having to use equipment that allows for two-sided printing as well as any extra time it takes to print on both sides.
Gate
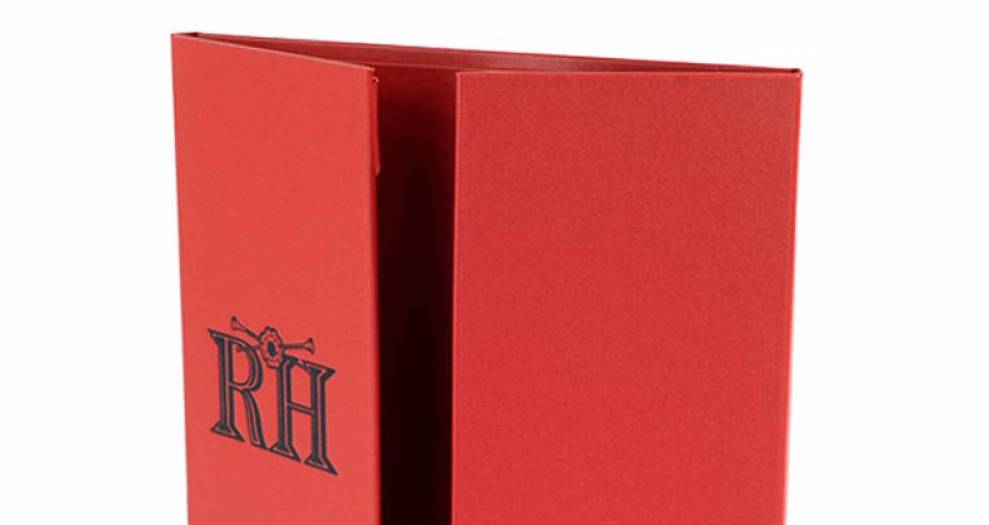
Image credit: Smart Hospitality Supplies
Another fold similar to the tri-fold earlier, this fold creates a reveal of the interior content by having the two flaps that fold over the center meet instead of overlap. This creates a sort of “barn door” effect which emphasizes the content on the interior’s center. This fold can vary with the length of each flap. Different ratios can be used to create asymmetrical balance, and a slight gap in the gate can tease the content within the gate fold.
I recognize this fold most from poster board frequently used at pop-up booths to advertise themselves. For these booth pieces, the printed content is typically restricted to the interior, which is a cost-saver and puts the design focus on the more valuable side of the poster board.
Roll Fold
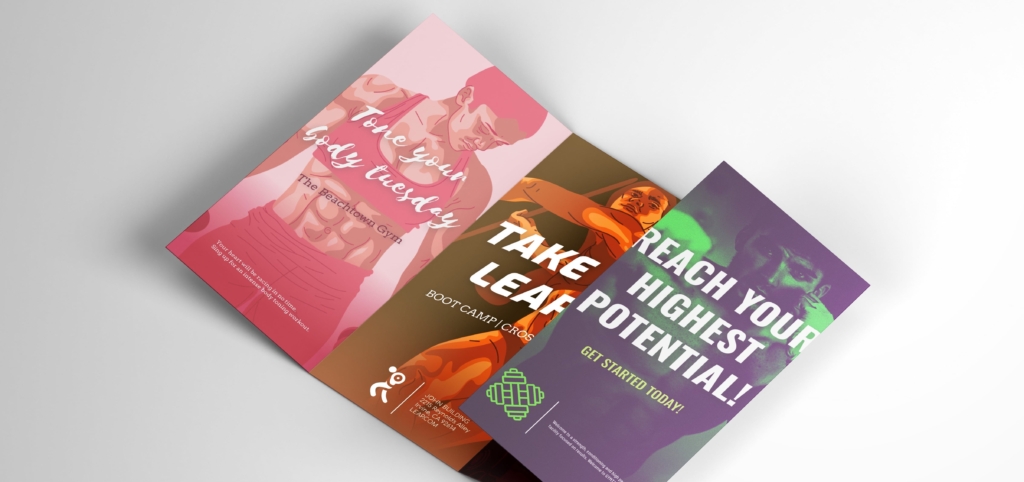
Image credit: Priority Print Service
Adding another fold and separating the paper into fourths instead of thirds, the roll fold creates another section on the interior and exterior of the page. Because of the way it rolls, the interior and exterior work hand-in-hand to create a compositional flow of the content. The linear nature of the rolled paper makes it especially useful for how-to guides and manuals.
Map Fold

Image credit: Free Images
As the name suggests, this fold is commonly found in maps. Starting with a roll fold (which can typically be more than the four mentioned earlier depending on the width of the map), it aims to make the large-format paper as narrow as possible. Afterwards, the paper is folded in half which greatly reduces its height.
The way in which this fold reduces the size of the large-scale paper is most effective for maps and other large and content-heavy compositions that need to be portable.
…and the Bold
Corner Fold
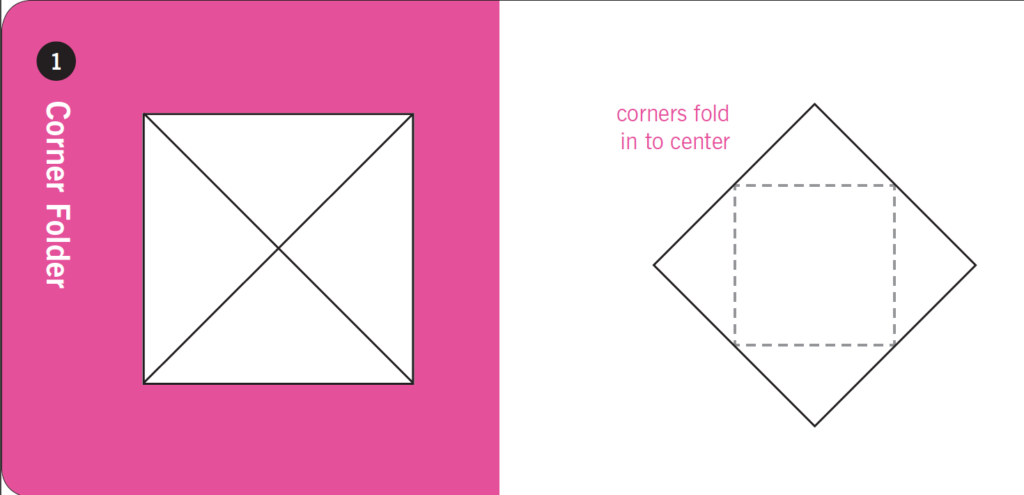
Image credit: Folding for the Frugal
A more intricate and decorative approach to a gate fold, the corner fold does exactly what the name suggests. Instead of using the sides of the paper to create a barn door effect and reveal the content, the four corners are brought into the center to create a 4-panel door, as opposed to the 2-panel door from a typical gate fold.
Because of the use of all four corners, this fold requires the use of square paper to ensure that all four corners meet in the center of the paper and don’t leave any awkward gaps.
Stepped Accordion
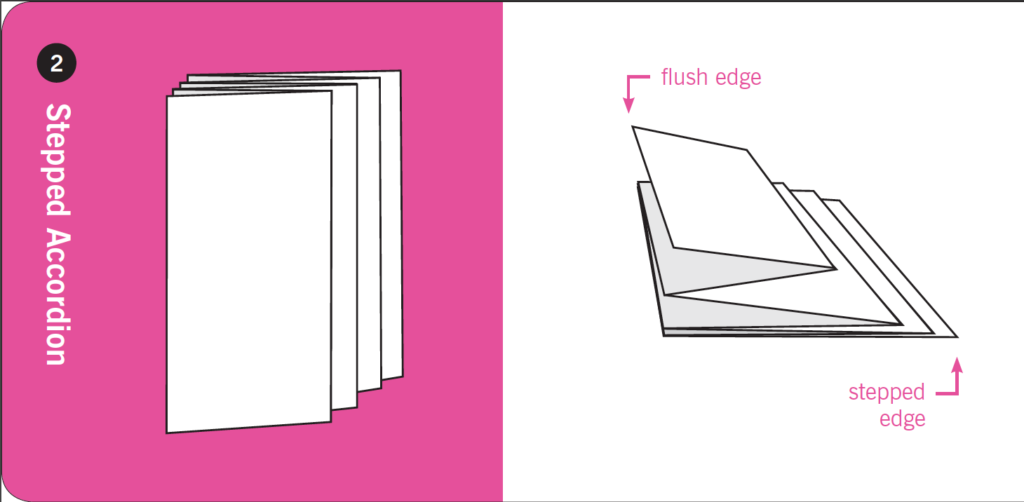
Image credit: Folding for the Frugal
Another fun variation on an established folding method, the stepped accordion takes the simple accordion and staggers the folds. These staggered folds allow a small part of each page to be seen to the side of the previous page and create a stair-like appearance. This can allow the designer to tabulate the content in the brochure, which can help with organization and information identification.
While folding paper may be a fun hobby, there are many ways it can be done in a useful and professional manner when it comes to designing stationary. In addition to the folds listed above, there are many more out there that achieve different results and serve different purposes. All it takes is finding the right fold for your design.
References
http://foldfactory.com
“Folding for the Frugal.” Sappi, foldfactory.com. PDF.